Hytale Crafting Guide: Benches, Recipes, and Progression
Start with pocket crafting, build a useful Workbench, and turn every recipe into a small, verifiable progression step.
Quick answer
The practical Hytale crafting guide loop is simple: make the crude tools available from pocket crafting, build a Workbench, use the station named by each recipe, and upgrade only when the next material is confirmed in your current build. Recipes and station tiers can change during Early Access, so read the active recipe panel before spending rare resources.
What crafting does in Hytale
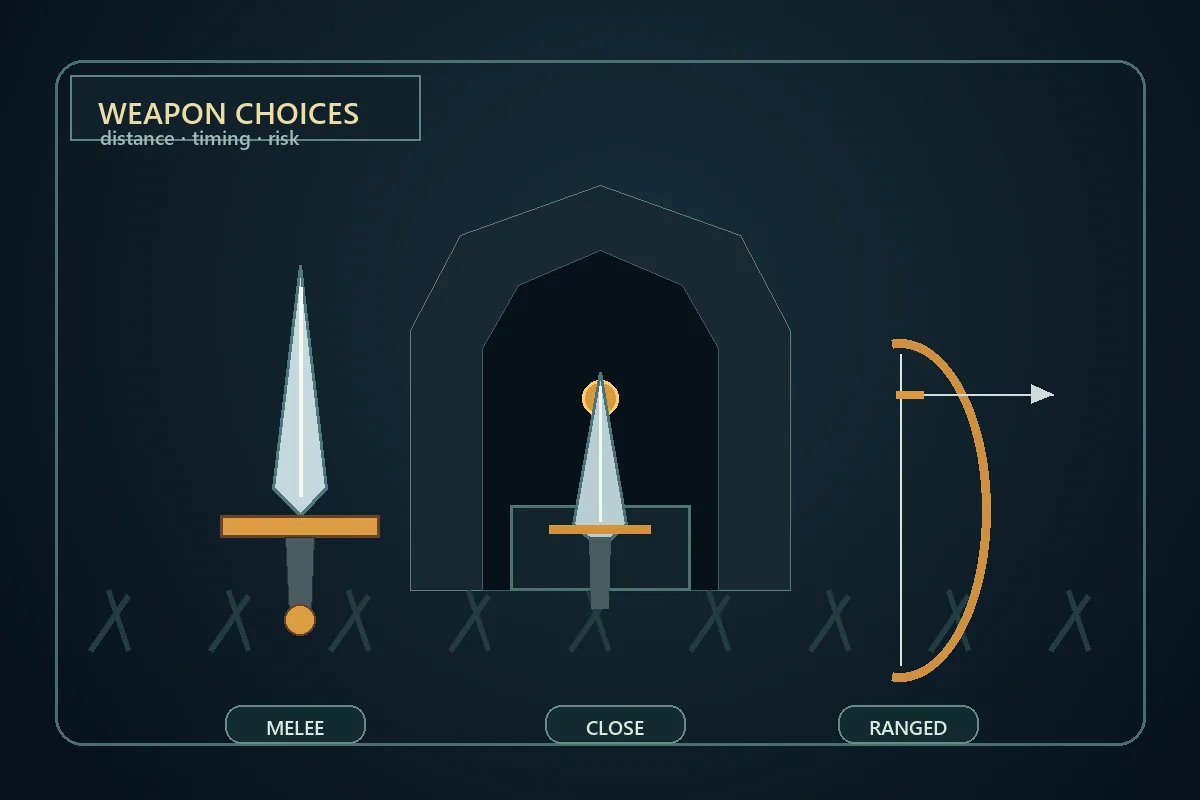
If you searched for a Hytale crafting guide, you probably want a reliable order for turning gathered items into tools, stations, food, armor, or building supplies. Hytale separates those jobs across pocket crafting and specialized workbenches. That means the right question is not only “What is the recipe?” but also “Which station, tier, and current build does this recipe belong to?”
A good crafting session closes one bottleneck at a time. Make the tool that reaches a new resource, process that resource at the correct station, then use the result to unlock a safer route. This is more dependable than copying a large recipe list and collecting everything before you know which tier you can use.
The sources reviewed for this guide agree on the broad structure: a first Workbench opens several station types, stations can be upgraded, and recipes are tied to progression. They disagree on some exact quantities and update details. Use the current in-game prompt as the authority for a live world, server, or modded setup.
- Pocket crafting — Use the inventory crafting area for a small set of early tools, containers, and survival items.
- Workbench crafting — Place a Workbench to unlock broader tool, survival, and station recipes.
- Specialized stations — Use the station named by the recipe for armor, cooking, smelting, farming, alchemy, or advanced items.
- Version boundary — Treat displayed recipes, server rules, and dated official notes as stronger evidence than an old table.
Start with pocket crafting and the first Workbench
Open the inventory crafting area and make only the crude tools that remove your first obstacles. A hatchet helps you gather wood, a pickaxe lets you test stone and ore, and a basic weapon gives you a safer way to reach the next resource. The exact ingredient list may be adjusted by an update, so use the quantities shown in your menu rather than a copied list.
Once you have enough wood and stone, look for the Workbench recipe in the same pocket-crafting area. Craft one, place it somewhere easy to defend, and interact with it before making a second station. The Workbench is valuable because it exposes the next set of recipes and shows which upgrades or materials are still missing.
Do not spend every early resource on decoration. Keep a small reserve for torches, a bedroll or shelter item, a replacement tool, and the first station that supports your next goal. A short note with the build number and displayed recipe will save time when a guide and your world disagree.
- Collect a test bundle — Gather a modest amount of wood, stone, plant fiber, and sticks so you can craft one tool at a time.
- Make the access tools — Craft the crude hatchet, pickaxe, and a basic weapon shown in your pocket menu.
- Craft one Workbench — Use the current Workbench recipe, place it near a safe return point, and open every visible tab.
- Choose the next bottleneck — Decide whether your next trip needs a furnace, an anvil, a farmer station, storage, or better tools.
- Write down the context — Record the build, server, mods, and station tier before you rely on a recipe from another page.
Hytale workbench recipes and station roles
Hytale workbench recipes are easier to remember when each station has one job. The names and costs can change, but the division of labor helps you decide what to build first. Start with the station that supports the activity you are actually doing, then add the next one when a recipe or material creates a clear need.
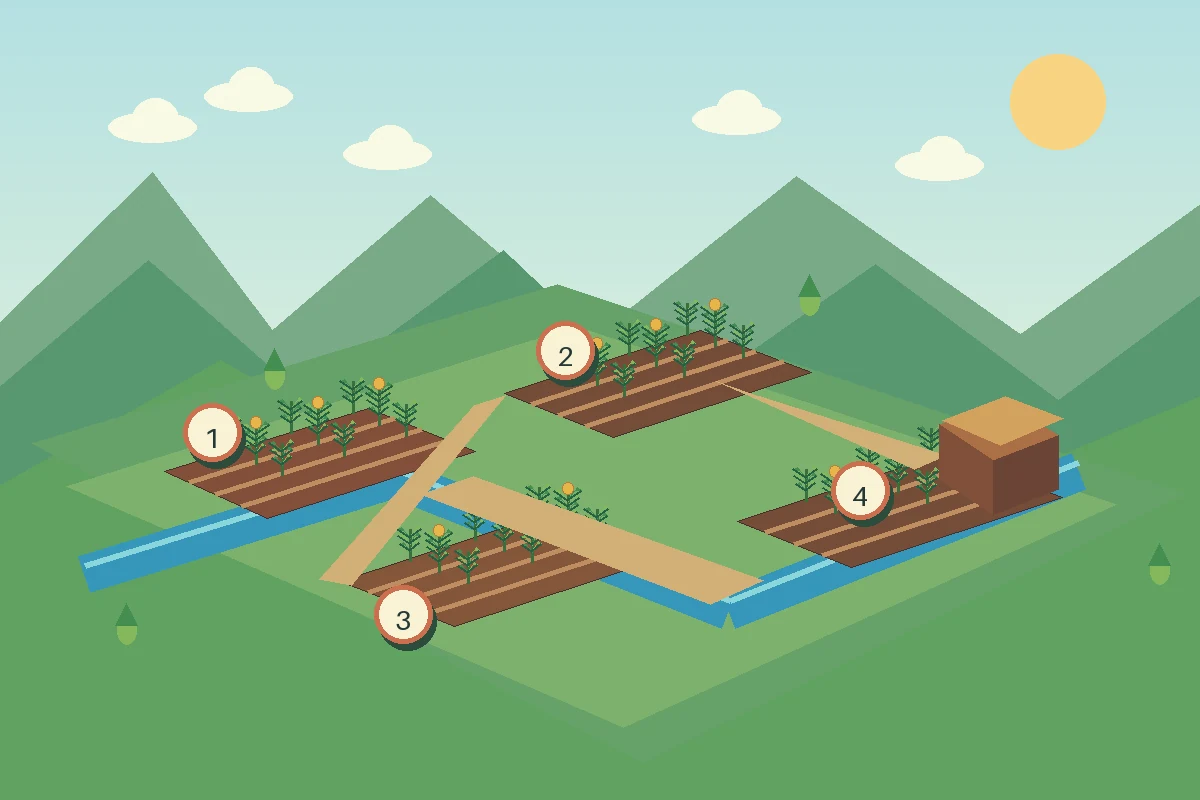
A furnace or similar smelting station converts raw ore into usable metal. An anvil or blacksmith station handles many metal weapons and tools. An armorer station covers protective equipment. A farmer station connects crops, seeds, and farm supplies, while a chef station handles food recipes. Tanning, salvaging, alchemy, and arcane stations become more useful when your exploration reaches the materials they require.
The table below is a role map, not a promise that every build uses the same names or costs. Open the station interface and check the recipe label, tier, and ingredient list before you craft.
- Read the station title — Confirm that the recipe belongs to the station you are standing at, not a similarly named menu.
- Check the tier — A locked recipe may require a station upgrade even when you already own the basic station.
- Place before scaling — Place one station and test one output before spending resources on a full workshop row.
| Station role | Typical output | When to prioritize |
|---|---|---|
| Workbench | Starter tools, survival items, and station recipes | Immediately after pocket crafting |
| Furnace or smelting station | Ingots and processed metal | When a metal recipe is your next blocker |
| Blacksmith or anvil | Metal weapons, tools, and repairs | Before a dangerous resource run |
| Armorer | Helms, cuirasses, gloves, greaves, and shields | When survivability is limiting exploration |
| Farmer or chef station | Seeds, crop items, cooking, and food | When supplies or base routines need stability |
| Tanning, salvaging, alchemy, or arcane | Leather, recycled materials, potions, or advanced items | After the recipe and tier are visible in your build |
Read a Hytale crafting recipe before spending materials
A recipe panel is a small checklist. First read the output name and quantity. Then identify the station, tier, ingredient quantities, and any fuel or processing step. Finally check whether the recipe is unlocked, whether an ingredient is a processed version of a raw item, and whether a server or mod changes the result.
This order prevents a common mistake: collecting a rare ore before you have the furnace or station that can process it. It also prevents confusing a raw hide with the leather created at a tanning station, or a crop ingredient with the seed or essence needed to grow it. Keep the first item you craft as a test, especially when an older guide presents a different quantity.
When a recipe is locked, capture the exact lock message. It may point to a station upgrade, a progression event, a material family, or a server permission. That message is more useful than guessing from a table that was written for another update.
| Recipe check | Question to answer | Useful note |
|---|---|---|
| Output | What will one craft produce? | Record the exact item name and count. |
| Station | Where must it be made? | Write the station and tab shown by the menu. |
| Tier | Is the current station upgraded enough? | Save the lock message if it is not. |
| Inputs | Are these raw or processed materials? | Separate ore, ingot, hide, leather, fiber, and scraps. |
| Context | Could a server, mod, or update change it? | Record build and settings before comparing sources. |
Upgrade a Workbench without blocking progression
Workbench upgrades are useful when they open a station or recipe you can use immediately. They are less useful when they consume the only metal, cloth, or special drop you need for a tool that would make the next zone safer. Plan the upgrade around a goal: better pickaxe, stronger weapon, storage, food routine, teleport option, or a station that processes the material you already found.
Before upgrading, inspect every requirement in the current panel. Some guides describe a Workbench progression with copper, iron, linen, or other tiered materials, but the exact quantities are build-sensitive. Gather a little more than the displayed minimum when travel is risky, yet keep a reserve for replacement tools and emergency supplies.
Upgrade one station, test the new recipe, and only then repeat the pattern. If a recipe remains locked, do not assume the upgrade failed. Read the message, check the station tier, and confirm that the output belongs to the same world or server rules.
- Name the goal — Write the specific recipe or activity the upgrade should unlock.
- Inspect every cost — Separate raw materials, processed materials, fuel, and special drops in your notes.
- Protect the reserve — Keep enough food, tools, and travel supplies for one failed or dangerous trip.
- Upgrade once — Apply the current requirement, open the station again, and verify the new menu.
- Compare only after testing — If a guide disagrees, compare the build and server context before changing your plan.
Gather and organize Hytale crafting materials
A material route is easier when you group items by the job they perform. Wood and stone support early structures and stations. Ore becomes metal after processing. Plant fiber and cloth-like scraps often support tools, armor, or station upgrades. Hides may need tanning before an armor or weapon recipe accepts them. Food and fuel keep a long resource trip from becoming a recovery trip.
Use separate storage spaces for raw inputs, processed outputs, and items reserved for an upgrade. Label the chest or write a short list. When you return from a cave, deposit ore and note which station will process it. When you return from an animal or farming run, keep enough of the raw item to test the current recipe instead of converting everything immediately.
The goal is not a perfect warehouse. It is a visible path from material to output. A small base with one Workbench, one processing station, one storage rule, and a note about the next upgrade is more useful than a large line of stations you cannot yet feed.

- Raw inputs — Keep ore, wood, stone, hides, fiber, plants, and special drops identifiable until the recipe accepts them.
- Processed outputs — Store ingots, leather, cloth, fuel, and cooked items separately so you do not mistake them for raw materials.
- Upgrade reserve — Hold back the quantities displayed for the next station tier before spending them on optional decoration.
- Travel kit — Carry food, tools, light, and a safe return plan whenever the material route crosses a dangerous area.
Hytale crafting mistakes and troubleshooting
If a recipe does not appear, first confirm that you are in the correct station and tab. Then check whether the station is placed, powered or fueled where relevant, upgraded, and connected to the inventory you are actually using. A recipe can be absent because it is locked, because an input is the processed version of what you carried, or because a server or mod uses a different content set.
If the craft button stays disabled, read the ingredient rows one by one instead of scanning the total. The missing item may be a specific tier of metal, a tanned hide, a type of fiber, or a quantity of fuel. If the output is not what you expected, inspect the result name and keep the first item until you understand its use.
When a guide and your game disagree, record the build, station, exact recipe text, and server or mod context. Change one variable, test again, and report the observation with a date. That process is more reliable than replacing a current in-game prompt with a copied table.
- Recipe missing — Check the station, tab, unlock state, and whether the page is filtered by a category.
- Ingredient rejected — Look for a processed or tier-specific form of the material and compare its exact name.
- Upgrade locked — Read the lock message and confirm the station tier before collecting more items.
- Different result — Record build, server, mods, and recipe text, then test one change at a time.
Hytale crafting FAQ and version boundary
Crafting information changes quickly during Early Access. The safest answer is the one you can reproduce from the current recipe panel and tie to a dated official update when the game changes. This FAQ keeps stable workflow advice separate from quantities that may need a fresh check.
For a wider progression plan, use the beginner and gameplay guides linked below. For crops or combat, follow the dedicated pages rather than turning this crafting reference into a second copy of those topics.
Craft one useful step, then verify the next
A dependable Hytale crafting guide is a loop, not a frozen shopping list. Start with pocket crafting, place one Workbench, choose a station that removes your current bottleneck, and read every ingredient and tier in the active recipe panel. Keep raw and processed materials separate, protect an upgrade reserve, and record the build whenever a guide disagrees with your world.
This method keeps crafting connected to exploration without pretending that Early Access numbers stay fixed. When you need a broader first-hour plan, use the beginner guide; when a recipe produces combat equipment, continue with the weapons guide; when it produces crops or food, use the farming guide.
Hytale crafting FAQ
Sources and update checks
The workflow is synthesized from the retrieved crafting guides below and bounded by the official Hytale update index. The third-party guides are useful for structure but can disagree on quantities, so the active recipe panel should win.
Related Hytale guides
Continue with a focused guide when the crafting result leads to another distinct task.
- Hytale beginner guide — Turn the first hour into a practical checklist before you expand your workshop.
- Hytale weapons guide — Choose combat equipment after crafting without repeating the recipe reference.
- Hytale farming guide — Move from Farmer's Workbench questions to seeds, soil, water, and crop tests.
- Hytale gameplay guide — Place crafting inside the broader exploration, building, and progression loop.