Hytale Farming Guide: Crops, Soil, Water, and Farm Design
A practical way to test crop care, organize a small plot, and improve a Hytale farm without treating unverified mechanics as fixed rules.
Quick answer
Start with a small, accessible plot and treat the first harvest as a test. Keep notes on the crop, seed source, soil state, nearby water, light or cover, and the build you played. Change one condition at a time before expanding. Public search did not surface an official crop-by-crop table, so this guide avoids invented crop names, growth timers, water radii, seasons, and drop rates.
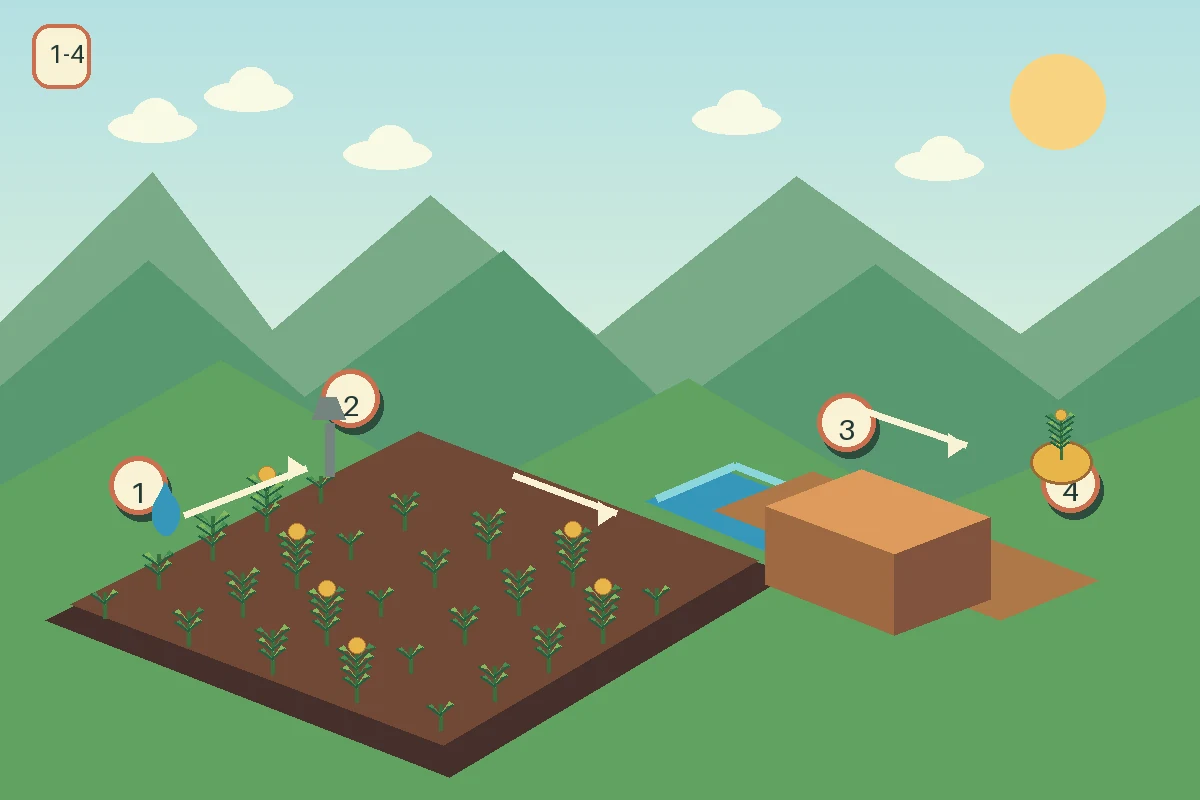
Start with a small Hytale farming test plot
Start with a few rows near a route you already use. Leave room to walk around each bed; a small plot costs less and makes changes easier to see.
Record the server or world, build label, seed name, plot location, and planting date. These notes help separate a mechanic from a server rule or an update change.
Exact growth times, soil rules, watering range, seasons, and seed returns were not confirmed by a current official crop table in the reviewed sources. Verify them in your build before spending rare items.
- Make a baseline bed — Use one crop and simple surroundings.
- Record conditions — Note soil, water, cover, location, and build.
- Compare results — Keep the interval steady and change one factor.
Find seeds and keep the source traceable
Seed sources can differ between builds and servers. Check the in-game description or inventory and current official notes; do not assume a biome, chest, merchant, or creature is the source without testing it.
Keep the first batch separate. Record its displayed name, quantity, source, and whether planting consumes one. After harvest, count produce and returned seeds separately to see whether your setup is repeatable.
Reserve enough seed for another test. If a community guide uses a different item name, trust the current in-game label and note the mismatch.
- Reserve — Save seed for replanting.
- Source — Mark observed routes separately from old tips.
- Returns — Count produce and seed independently.
Choose a workable plot and manage water access
Flat or gently stepped ground makes rows easier to inspect and leaves room for a path. If the game shows a soil state or tool prompt, record it before and after preparation.
Plan a short route to water before expanding. If watering or wet soil appears in your build, compare matched beds while keeping crop, cover, and time alike.
One successful block does not prove a universal watering radius. Test distance only when the game signals that water matters; otherwise treat it as a convenience.
| What to plan | Practical choice | What to verify in game |
|---|---|---|
| Ground | Clear patch | Soil state or tool |
| Water | Short route | Visible state or result |
| Access | Path by beds | Blocked interactions |
| Space | Spare strip | Room needed in this build |
Design a farm that is easy to use every session
Keep a compact plot beside a path, with the most-used beds near the entrance and tools or spare seed nearby. Straight rows help counting; they are not a confirmed growth requirement.
Separate a reserve bed from test plots, and leave a walking lane. You should be able to inspect every crop without stepping through beds or moving storage.
Begin with one or two beds and expand after a repeatable harvest. Paths and nearby water can reduce chores, but do not assume they improve growth.
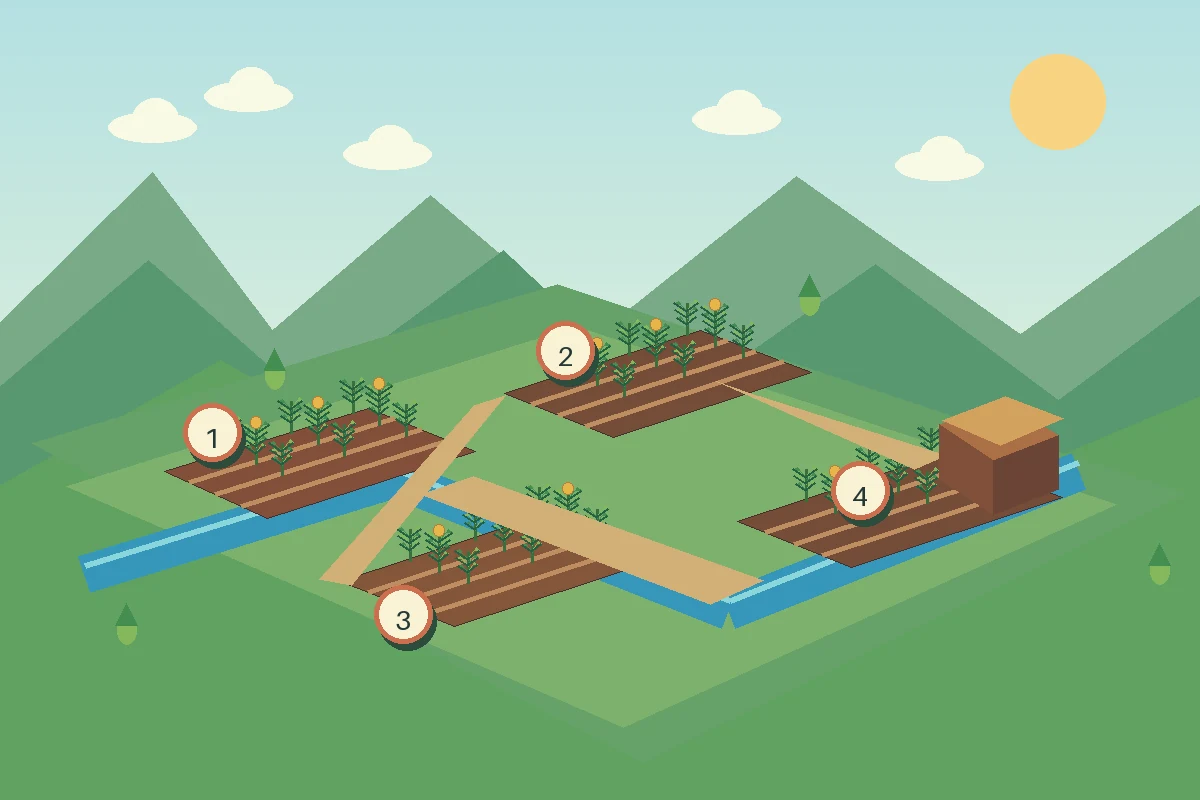
- Planting lane — Reach and see every row.
- Water route — Keep the path short and clear.
- Reserve space — Save a bed for tests.
- Supply point — Store tools and spare seed nearby.
Test crop growth without guessing
Change one condition at a time. Use matched plots, alter only water, soil, or cover, and revisit after the same interval. A result is not useful if several factors changed together.
For a water test, keep crop and surrounding blocks alike but move one bed farther away. Note the result in a log instead of adding objects that might affect the test.
Record whether time means real minutes, an in-game day, or a session. Repeat a surprising result before presenting it as a rule.
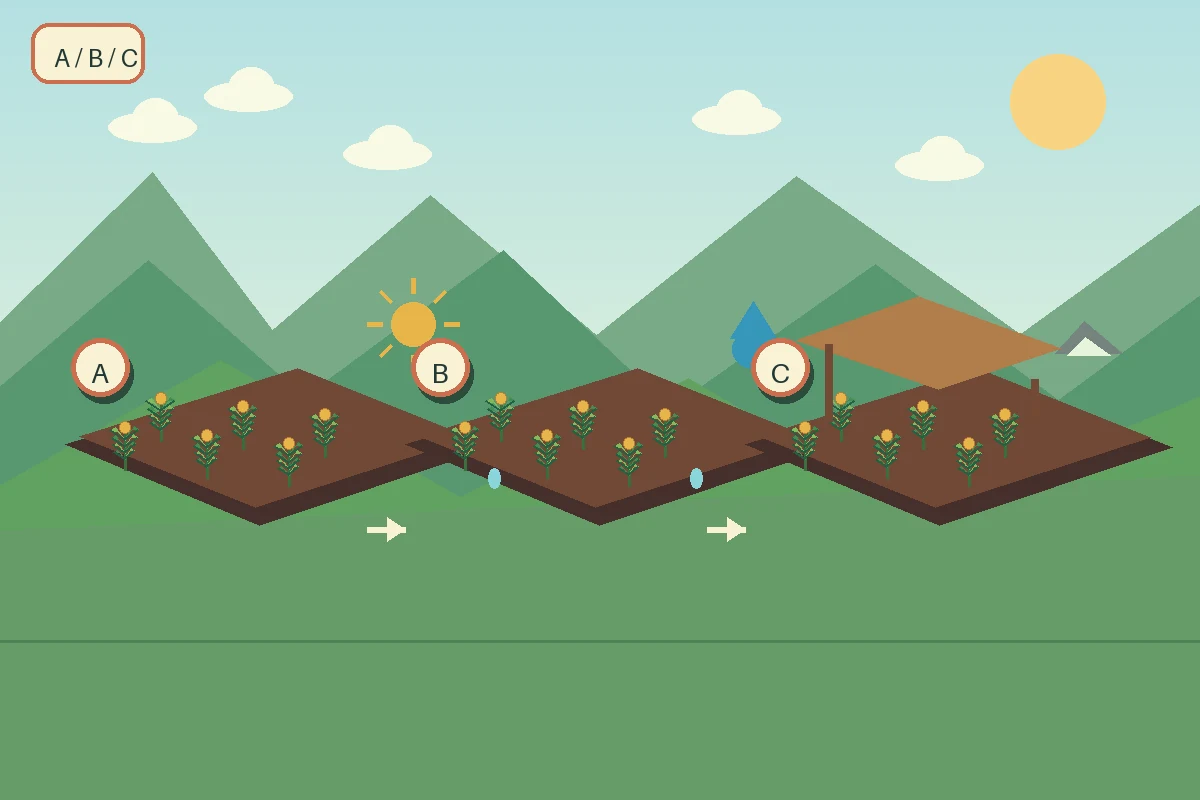
| Test question | Keep constant | Change only |
|---|---|---|
| Water? | Seed, soil, cover | Distance or watering |
| Soil? | Seed, water, time | Prepared soil |
| Cover? | Seed, soil, water | Covered bed |
| Repeatable? | Recorded setup | Same test again |
Harvest, replant, and store supplies in a useful order
Harvest one small section first. Record the item, whether the plant remains, and whether seeds return; these are separate observations.
Count the yield, reserve replanting stock, and store the remainder apart from seeds. Repeat the cycle before estimating how much space a larger field needs.
If a second yield differs, note the build, server rules, and conditions instead of scaling from one result.
- Inspect — Confirm the interaction and item name.
- Reserve — Save seed before using surplus.
- Store — Separate seed, harvest, and tools.
- Repeat — Compare another cycle before scaling.
Troubleshoot a Hytale crop that is not growing
A stalled crop may reflect a blocked interaction, world change, or server rule. Confirm the seed was planted and the same world is running; capture the plot before changing it.
Simplify to one crop and remove optional decoration. Compare a second bed that differs in only one suspected condition, then check current notes or server guidance.
Do not spend rare materials on a guess. Darkness, biome, and nearby blocks are not causes just because another sandbox game uses them.
- No response — Check item, block, and prompt.
- No growth — Log time and compare a matched bed.
- Different yield — Count produce and seed separately.
- Server mismatch — Check settings, mods, and build.
A dependable Hytale farm starts with a repeatable loop
Build a small plot you can inspect and repeat. Track seed and harvest counts, keep paths convenient, and test one condition at a time before expanding.
Check official updates for changes. These editorial diagrams are planning aids, not screenshots or proof of an official farm design.
Hytale farming FAQ
Sources and update checks
No official crop table surfaced in the reviewed search. Check first-party updates and treat these diagrams as planning aids.
Related Hytale guides
Continue with broader gameplay and progression guides.
- Hytale gameplay guide — Exploration, gathering, and progression.
- Hytale beginner guide — Plan a first session.
- Official Hytale updates — Check first-party changes.