Hytale Biomes Guide: Zones, Exploration Routes, and Field Notes
A practical Hytale biomes guide for planning routes, comparing environments, and keeping useful notes while Early Access systems continue to change.
Quick answer
Treat a Hytale biome as a travel context, not only a color on a map. Start from a known camp, record terrain, weather, landmarks, hostile encounters, and useful materials, then compare the next zone against that baseline. Hytale's official game overview describes a world built for exploration and unique worlds, but it does not provide a permanent public table of every biome, resource, or transition. This guide therefore focuses on a repeatable discovery method rather than inventing fixed zone names or drop rates.
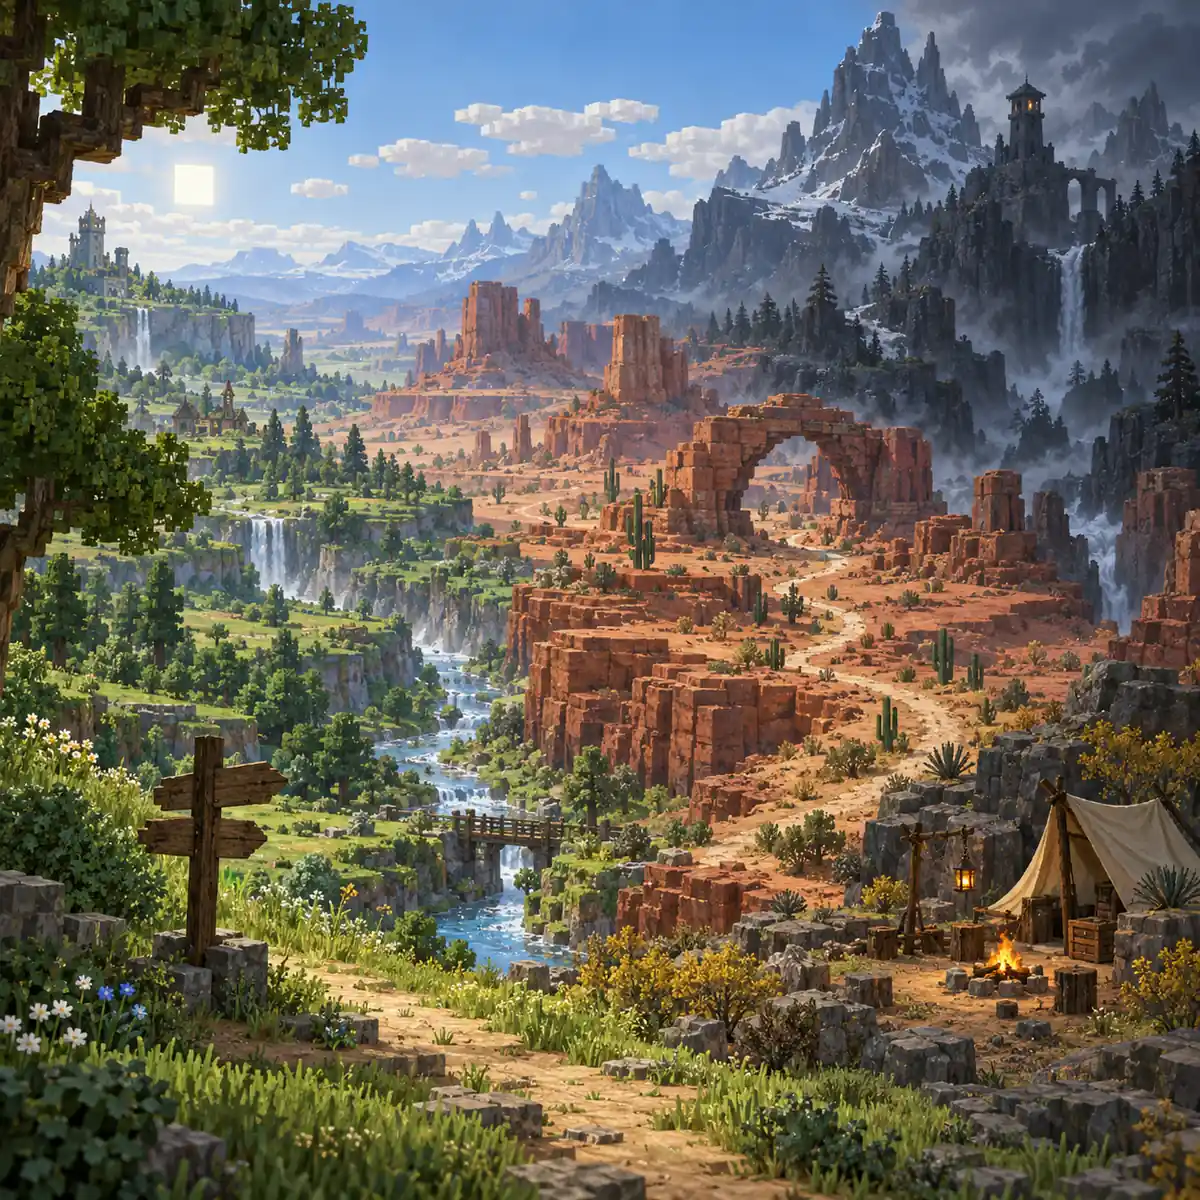
What a biome means in Hytale
A biome is useful because it gives you a working expectation about terrain, visibility, travel cost, weather, creatures, and materials. It is not a promise that every generated world uses the same border or offers the same loot. In an Early Access sandbox, a patch, seed, server rule, or mod can change what a zone looks like and what appears inside it.
The official Hytale game overview presents exploration as a central activity and highlights unique worlds. That supports a flexible field-guide approach: identify what you can observe, record where you observed it, and keep claims tied to a build or server. A community list can be a lead, but the in-game label, map position, and repeatable observation are stronger evidence for your own route.
- Terrain — Note slopes, cliffs, water crossings, caves, and building space.
- Travel — Measure how long the route takes and where a return can be interrupted.
Prepare a Hytale biomes route before leaving camp
Start with a small loop that returns to a known bed, storage chest, or other safe reference point. A loop is easier to compare than a long one-way trip because you can measure supplies, time, damage, and discoveries against the same starting conditions. Mark the first crossing and the first place where visibility or terrain changes.
Carry only what supports the question you are testing. For a resource check, leave space for samples and a way to return. For a combat check, bring the equipment you can replace and avoid turning a scouting trip into a final attempt. If the world has a server or mod list, record it before you compare notes with another player.
- Set a baseline — Write the world, server, build, location, and current supplies.
- Choose one question — Test a route, material, landmark, or encounter at a time.
- Mark a return point — Use a camp, bridge, tower, or other feature you can recognize.
Read terrain, weather, and landmarks
The fastest way to understand a new zone is to read the route in layers. First look at movement: steep faces, water, narrow bridges, and open ground. Next check visibility: trees, fog, weather, and lighting can change how easy it is to find a landmark. Finally inspect the edges where one environment meets another. These transition areas often make better navigation references than a color-only map.
Do not assume a visual cue proves a mechanic. A dry-looking valley may be convenient for building without being a confirmed source of a particular material. A snowy peak may signal a harder route without proving a fixed temperature rule. Record the cue and the outcome separately so a later patch does not turn your description into a false guarantee.
| Observation | Useful note | Avoid claiming |
|---|---|---|
| Terrain | Slope, water, cave, open space | A universal travel time |
| Weather | When visibility or movement changed | A permanent biome rule |
| Landmark | Shape plus direction and nearby cue | Coordinates that apply to every world |
| Boundary | Where the visual or travel context changes | A fixed border for all seeds |
Compare Hytale biome resources without guessing
Resource notes become useful when you distinguish an item sighting from a reliable source. Write down the displayed item name, the block or creature it came from, the local terrain, the tool used, and whether the result repeated. If the item was found in a container, record the container context instead of labeling the entire biome as its source.
Use matched observations. Compare two similar routes with the same tool and a similar amount of time, then change one factor such as distance from camp or elevation. This is not a laboratory guarantee, but it prevents a single lucky find from becoming a misleading best-biome list.
- Source — Name the block, creature, container, or interaction you actually observed.
- Context — Record zone label, terrain, elevation, weather, server, and build.
Build a useful Hytale map and note system
A map is valuable when another session can understand it. Use one short record per route: date, world or server, build, starting marker, destination, distance estimate, hazards, discoveries, and confidence. Keep names consistent. If the game provides a zone label, quote the displayed label and add your own plain-language description after it.
Separate confirmed, observed, and community-reported information. Confirmed means a first-party note or a stable in-game label supports it. Observed means you repeated it in a specific world. Community-reported means it is a lead that still needs a build boundary. This small vocabulary prevents a guide from turning a helpful rumor into an absolute claim.

| Field | Example format | Why it helps |
|---|---|---|
| World | Save or server name | Stops notes from mixing seeds |
| Build | Version or update channel | Makes old observations traceable |
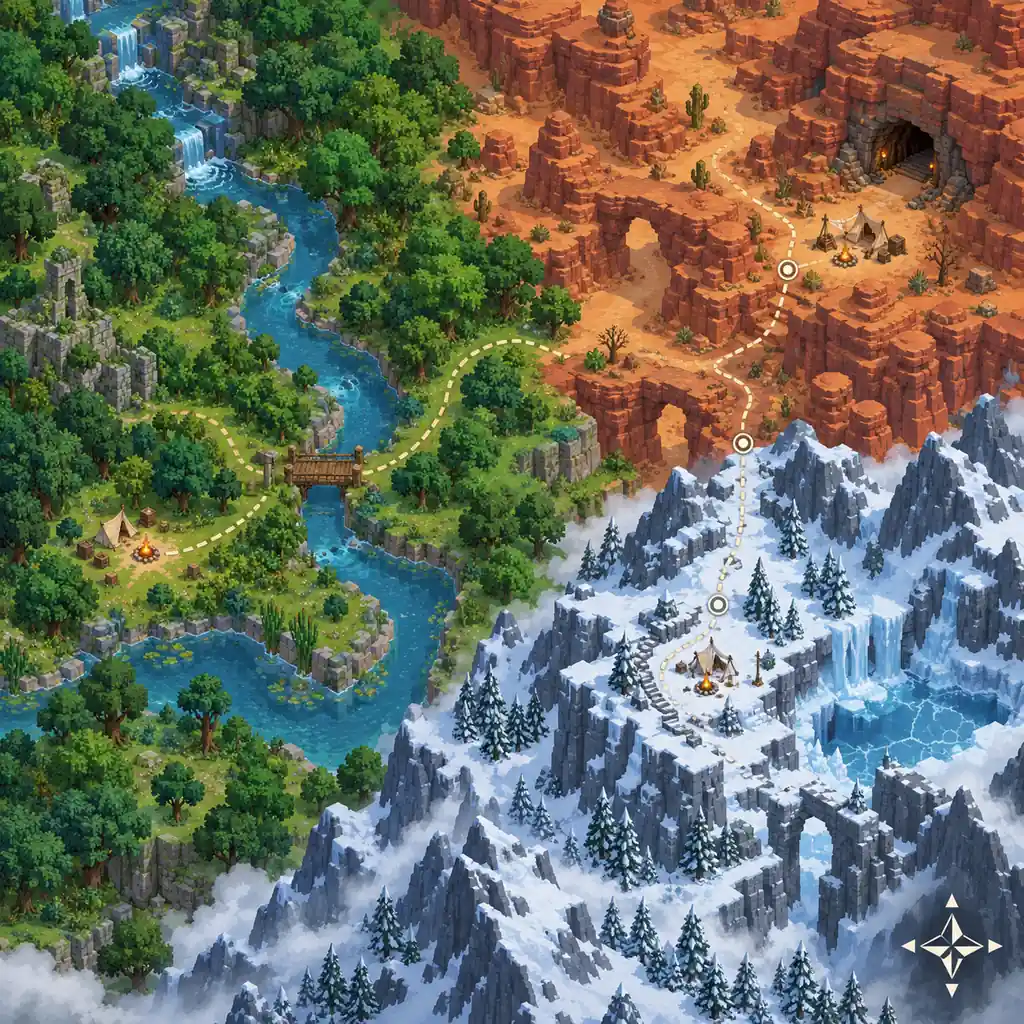
| Route | Camp - river - canyon | Gives players a repeatable sequence |
| Confidence | Observed twice / lead | Shows how strongly to trust the note |
Use a safe exploration loop in every Hytale biome
A safe loop has five phases: prepare, travel, observe, return, and review. Preparation sets a realistic objective. Travel follows a marked path and leaves enough capacity for the return. Observation captures the item, landmark, or encounter without changing several conditions at once. Return protects the evidence. Review turns the trip into a note you can test again.
Keep one reserve route for when weather, combat, or a blocked crossing makes the planned path unsafe. A reserve route does not need to be faster; it only needs to return you to a known point. In a shared world, tell other players when you are testing a path so a new build or decoration does not invalidate the observation.
- Prepare — Choose supplies and write the one question for the trip.
- Travel — Follow the shortest safe route and mark transitions.
- Observe — Capture labels, materials, terrain, hazards, and landmarks.
- Return — Protect samples and keep a known route home.
- Review — Classify the result as confirmed, observed, or still a lead.
Troubleshoot changing Hytale biome information
If your zone does not match a guide, first check the world, seed, server, build, and mods. A different generated world is a better explanation than a broken rule. Compare the displayed label and one nearby landmark before rebuilding the entire route.
If a material is missing, repeat the observation with the same tool and check a transition area. If an enemy or weather pattern differs, record the difference instead of editing it out. A guide that includes its boundary helps readers diagnose a mismatch without wasting a long trip.
- Mismatch — Verify world, seed, server, build, and mods first.
- Missing item — Repeat with the same tool and record the exact source context.
A dependable Hytale biomes guide starts with repeatable notes
The strongest answer to Hytale biomes questions is a method that survives a changing world: start from a known marker, test one question, record the environment and build, then repeat the route before calling it a rule. This helps builders, explorers, and server groups make decisions without relying on a copied list that may belong to another seed.
Hytale's official game overview is the right place to confirm the broad exploration direction and official updates. Use your own map for local evidence, label conceptual images as illustrations, and revisit uncertain notes after a patch.
Hytale biomes FAQ
Sources and update checks
The official game page was checked for the broad exploration framing. It does not replace an in-game observation log or provide a permanent biome-by-biome resource table.
Related Hytale guides
Continue with guides that cover the systems you may use while exploring new zones.
- Hytale gameplay guide — Exploration, combat, building, and progression context.
- Hytale beginner guide — Plan a safe first session and starter route.
- Hytale farming guide — Keep environment and crop observations separate.
- Hytale bosses guide — Prepare for encounters after a route is verified.
- Official Hytale game overview — Confirm the first-party exploration framing.