How to Make Hytale Mods: A Practical Creator Guide
Plan a small mod, build assets in Blockbench, configure content in the Asset Editor, add server-side behavior when needed, and test every change against the current Early Access build.
Quick answer
If you want to know how to make Hytale mods safely, choose one small server-side or content-focused idea, use Hytale's official creator workflow, make models and animations with the Hytale Blockbench plugin, configure assets with the Asset Editor, and test in a separate development world. Do not begin with a random client injector, cracked launcher, or old community SDK. Early Access changes can break assets and code, so version notes and backups are part of the modding workflow.
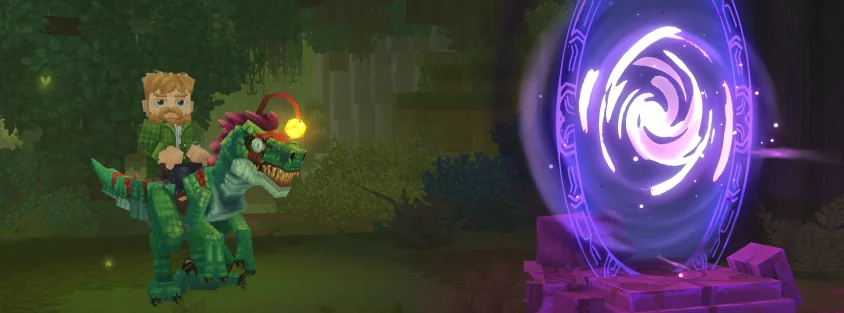
What Does Making a Hytale Mod Actually Mean?
Hytale modding is broader than downloading a skin or copying a Minecraft mod into a folder. A project can change data-driven game assets, create models and animations, define behaviors through visual graphs, add server rules, or combine those layers into a custom adventure. The right starting point depends on whether your idea is mainly visual, content-driven, or code-driven.
For a first project, choose a result that can be explained in one sentence: a decorative block set, one creature variant, a simple quest item, or a small server rule. This keeps the number of assets, dependencies, and test cases manageable. A huge RPG conversion is not a useful first tutorial because every mistake becomes harder to isolate.
Hytale's public modding strategy emphasizes server-side extensibility and official creation tools. That means creators should learn the supported pipeline instead of assuming that client injection, C# loaders, Fabric, Forge, or a generic Unity workflow applies. The game and tools will continue changing during Early Access, so official documentation and current examples should outrank old videos or unofficial repositories.
Hytale Modding Tools and Skills You Need
You do not need to master every tool before starting. Pick the smallest toolset that matches the mod. Artists can begin with Blockbench and the asset workflow; programmers can begin with a minimal server-side feature and placeholder assets; designers can prototype data and graphs before commissioning polished art.
Keep a clean project folder, a text editor or IDE, image software for textures, and version control. Git is useful even for solo creators because it lets you compare a working asset with a broken revision. Store source files separately from exported game-ready files, and never test destructive changes in your main world.
| Goal | Primary tool | Useful skill | Beginner-sized outcome |
|---|---|---|---|
| Models and props | Blockbench with Hytale plugin | Low-poly modeling and UV mapping | One block, prop, or creature variant |
| Animation | Blockbench animation tools | Rigging and short loops | Idle, walk, or interaction animation |
| Data-driven content | Hytale Asset Editor | Naming, references, and validation | One configured item or behavior set |
| Logic and rules | Official server-side Java API | Java, events, logs, and debugging | One command, event response, or server rule |
| Team workflow | Git and a shared issue list | Small commits and reproducible tests | A build another creator can test |
How to Make Hytale Mods: Beginner Workflow
A repeatable workflow matters more than a clever first idea. Move through the steps in order and keep a working checkpoint after each one. If the mod stops loading, you should know which single export, configuration, or code change caused the failure.
- Define the boundary. Write the player-facing result, supported game build, required tools, and features you will deliberately postpone.
- Create a minimal project. Use the current official folder and manifest pattern. Avoid copying a large template with dependencies you do not understand.
- Build one asset or behavior. Use placeholder art when necessary, but keep names stable so replacement files do not break references.
- Validate references. Check identifiers, paths, asset links, graph nodes, and dependency versions before launching the game.
- Test in isolation. Use a development world or server, read logs, and verify both the expected result and the failure case.
- Package a clean build. Exclude source clutter, caches, credentials, personal saves, and unrelated libraries.
- Document compatibility. State the tested Hytale build, installation location, dependencies, known issues, and removal steps.
Create Hytale Models and Animations in Blockbench
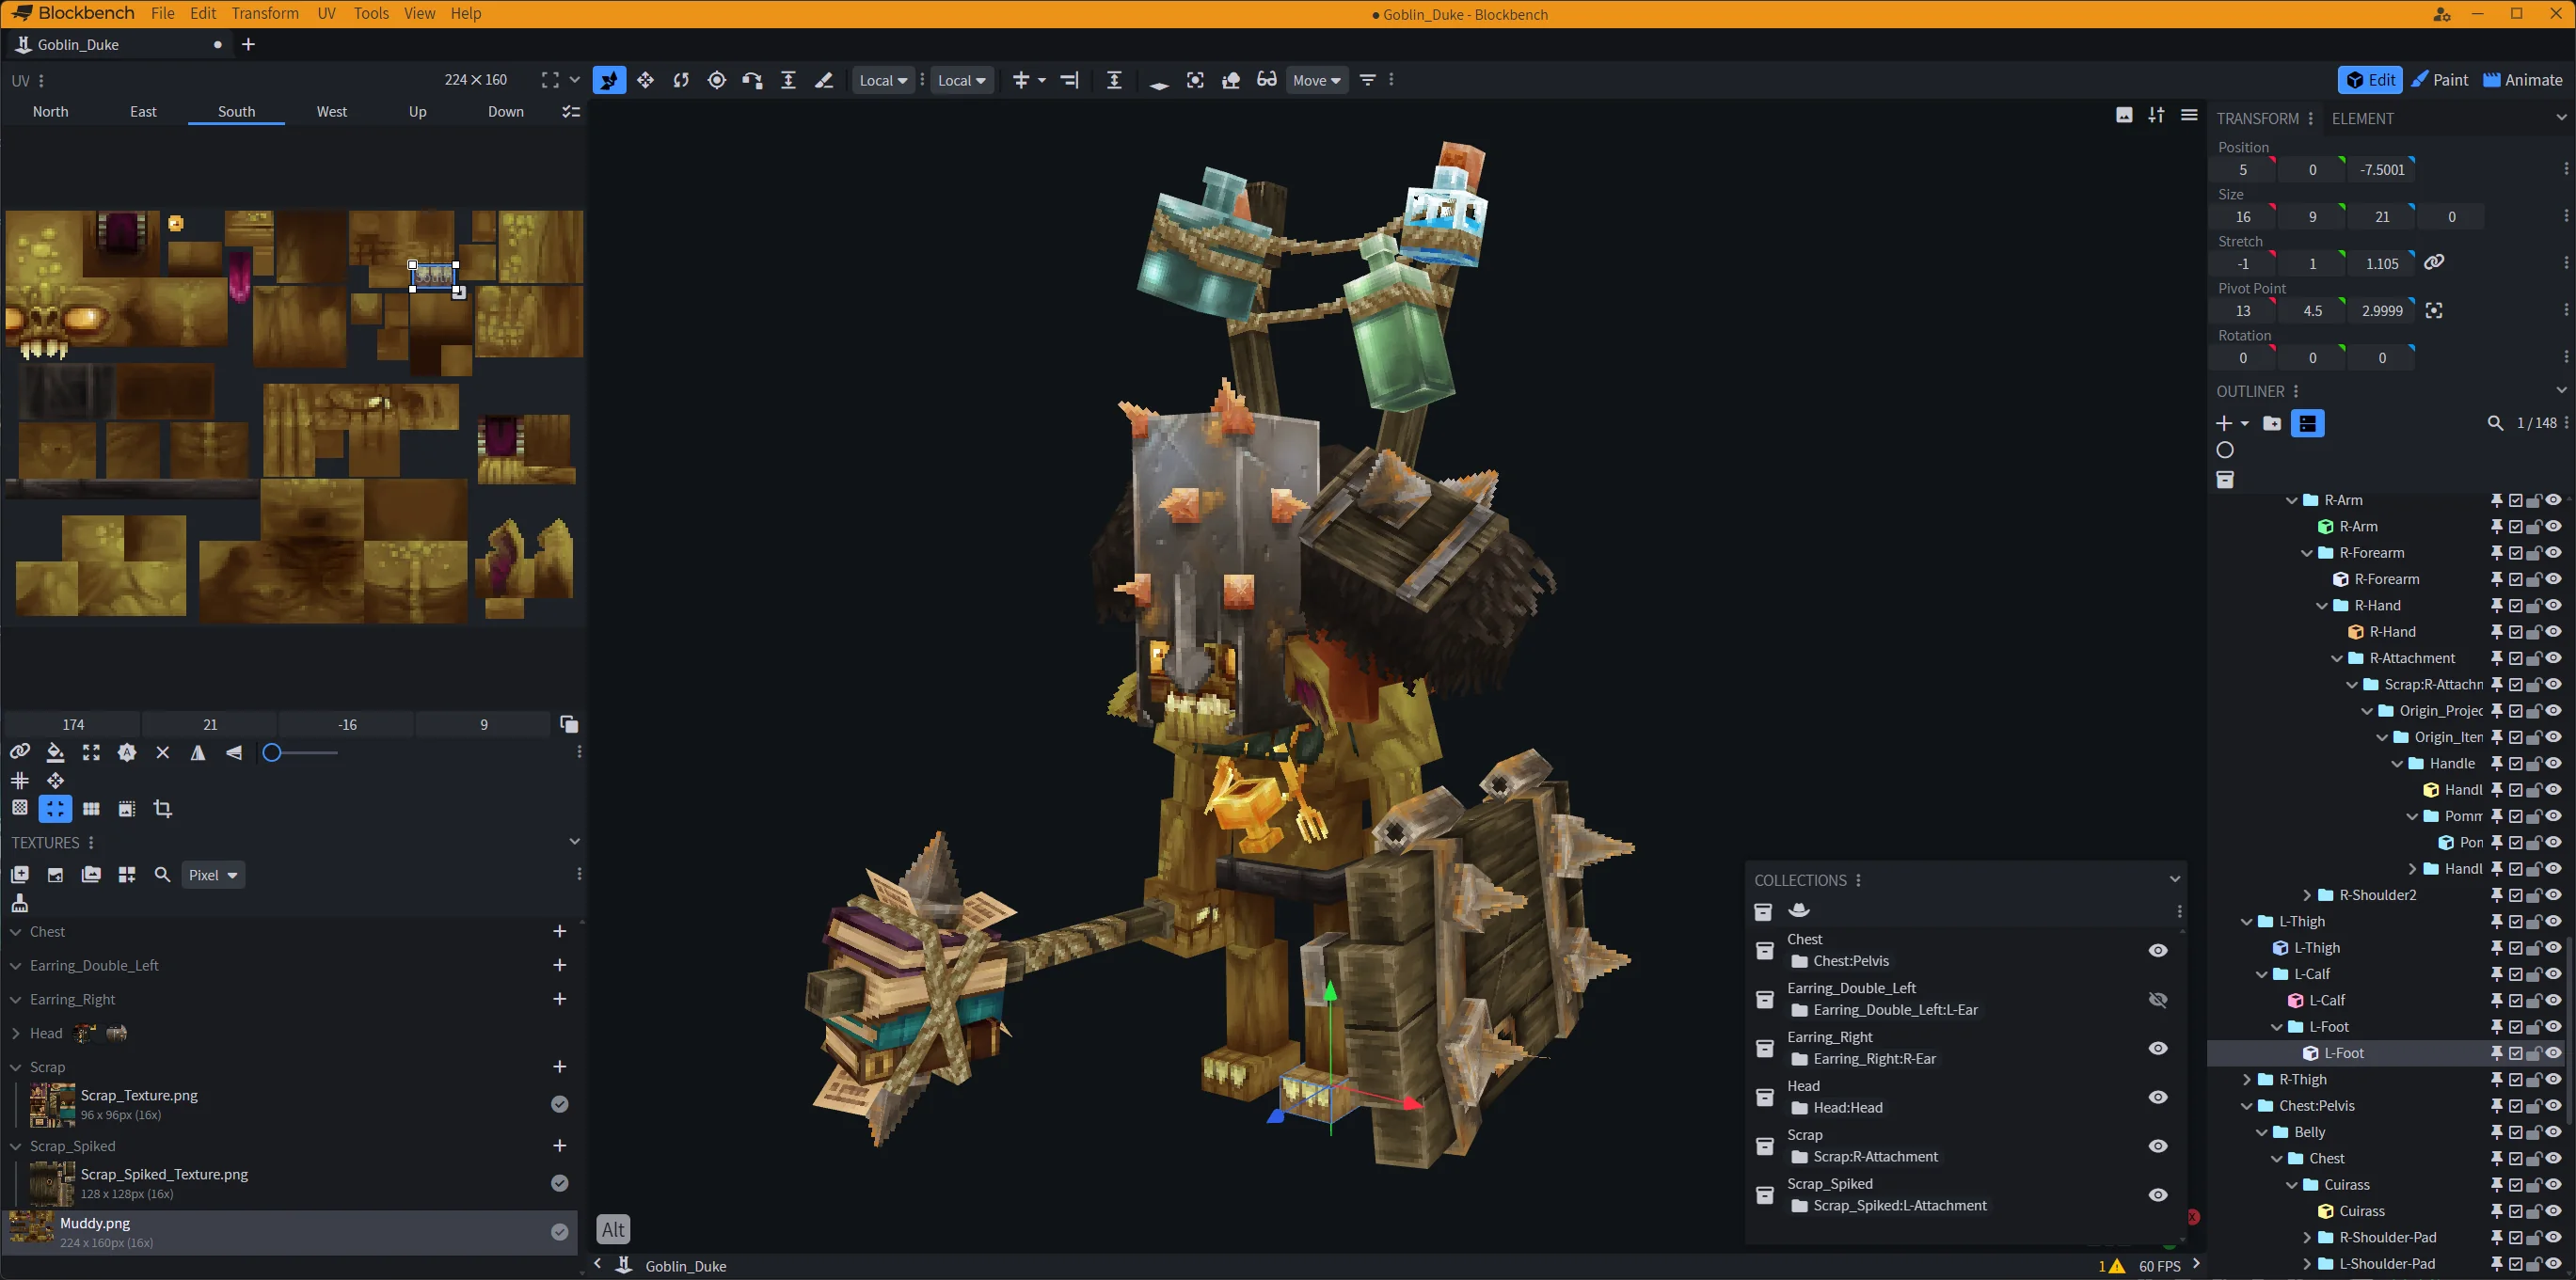
Hytale's Blockbench integration is intended to give creators a game-aware modeling and animation path instead of a generic export guess. Start with the official plugin and a simple object. Keep geometry economical, texture resolution appropriate, pivots predictable, and names readable. Good naming is not cosmetic: asset references and team reviews become much easier when every bone and animation has a clear role.
For animated content, create one short loop first. Confirm the rig, pivot positions, timing, and in-game scale before adding more states. A polished model with a broken root bone or mismatched scale is harder to repair than a rough model that already exports correctly. Keep the editable Blockbench source file so you can return to the rig after a game update changes an exporter or validation rule.
Configure Content with the Asset Editor and Visual Graphs
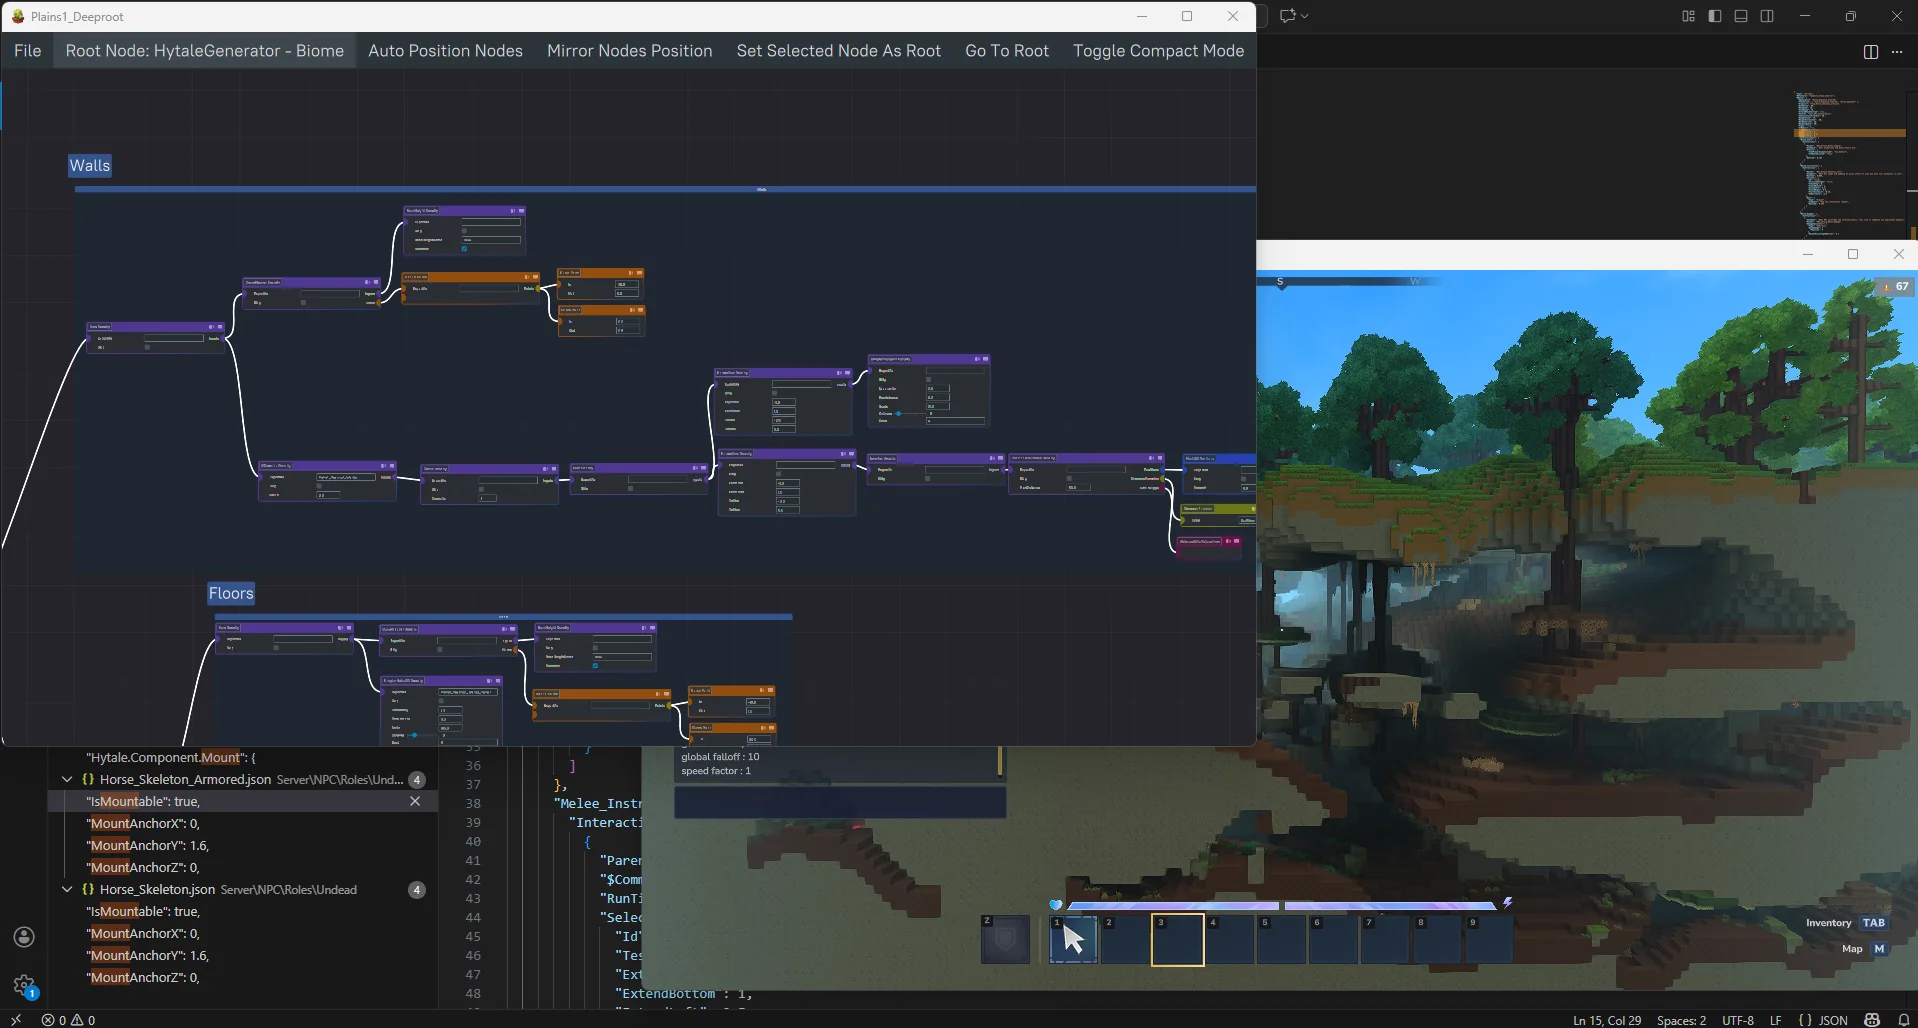
The Asset Editor connects content definitions, references, validation, and reusable values. Treat it as a structured content system, not a place to enter random numbers until something works. Use consistent identifiers, duplicate a known-good minimal asset only when you understand each field, and resolve warnings before adding more layers.
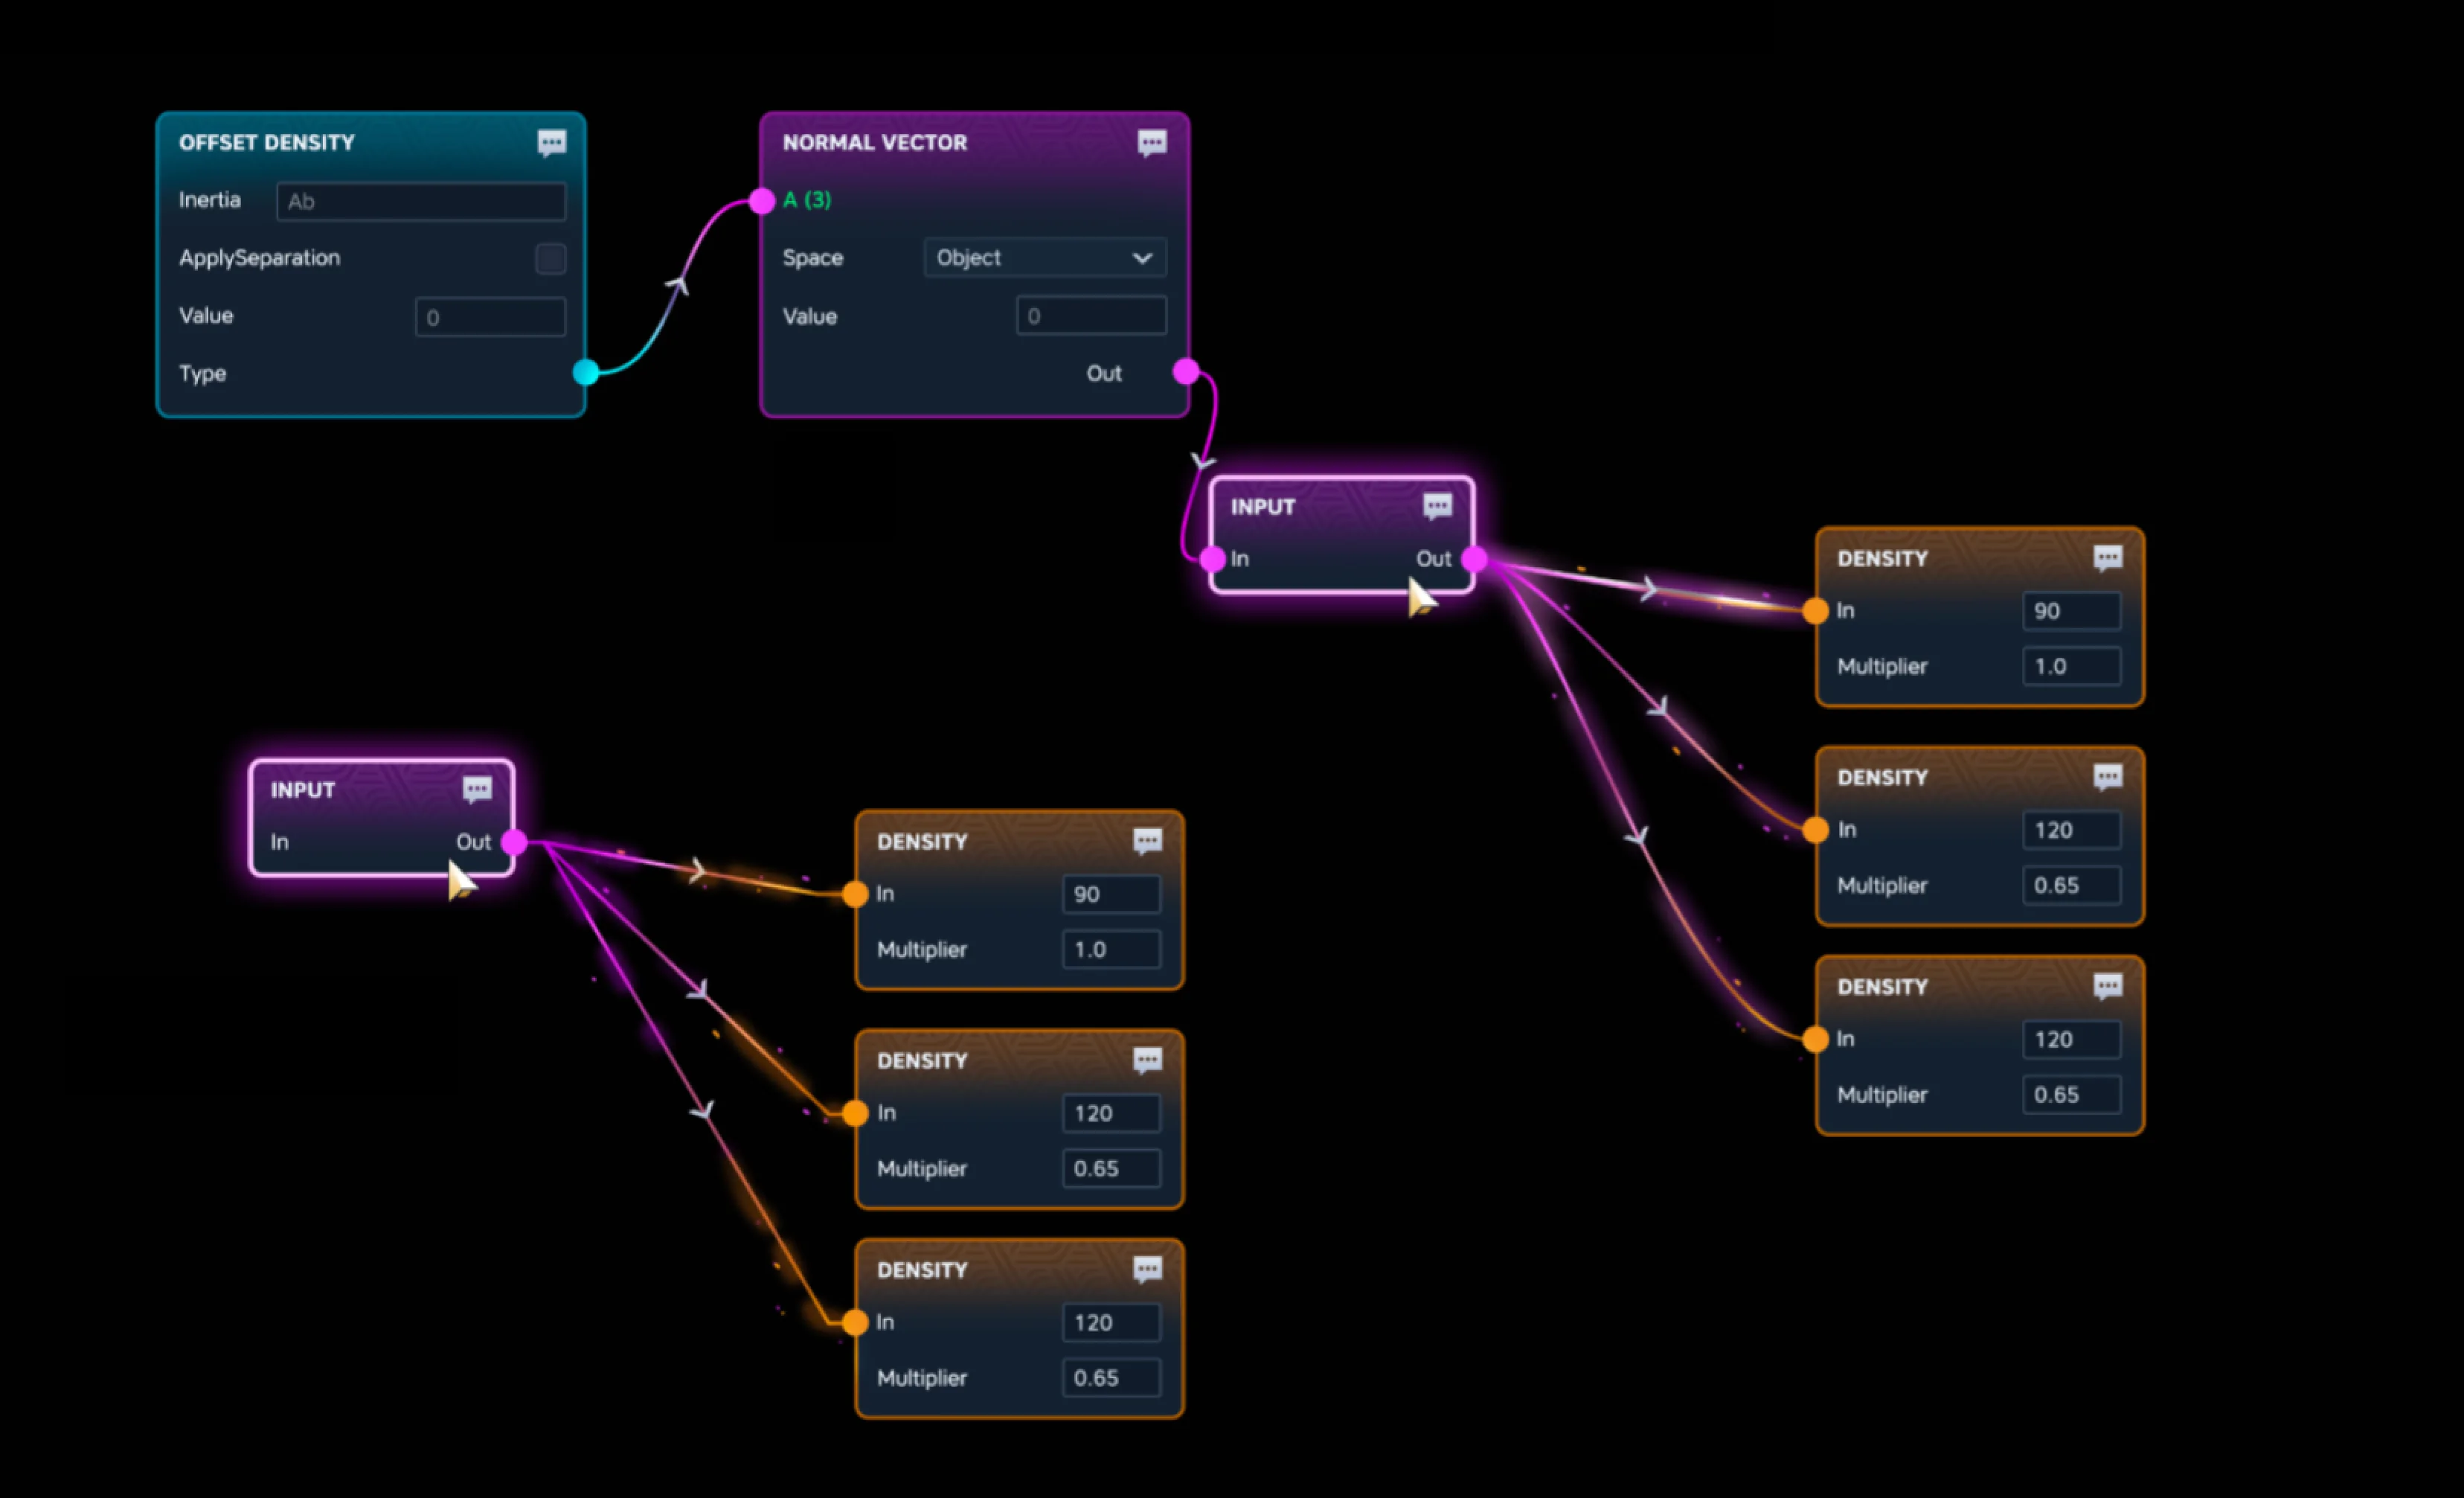
Visual graphs can make relationships and behavior easier to inspect, but they still require disciplined design. Give nodes meaningful labels, keep branches small, and document what enters and leaves each graph. If one graph tries to control spawning, combat, rewards, dialogue, and persistence at the same time, split it into testable pieces.
Export or save a checkpoint after every working milestone. When an update changes a schema, compare the old and new asset definitions rather than deleting your project and starting over. Logs, validation messages, and a minimal reproduction are more useful to support teams than a screenshot that only says the mod is broken.
Add Server-Side Behavior with Java
Use server-side code when data and graphs cannot express the rule cleanly. Typical examples include commands, event reactions, permissions, matchmaking rules, custom progression, or integrations with a server's own systems. Start with one event or command, log its inputs, and return a predictable result before connecting databases or complex state.
Keep game logic authoritative on the server and distrust values supplied by a client. Validate permissions, rate-limit expensive actions, handle missing players or assets, and avoid blocking the main server loop with slow network calls. If the API offers lifecycle hooks, use them to register and release resources instead of relying on process shutdown.
Hytale's official strategy states that server-side modding uses Java and does not position C# as the supported server modding path. Do not choose a language because an unofficial loader uses it. Choose the supported API for the build you are targeting, then pin and document that compatibility.
- Keep the first code module small enough to explain in one README section.
- Use structured logs that identify the mod version, game build, event, and failure.
- Avoid bundling secrets, access tokens, player data, or private server configuration.
- Test permissions and invalid input, not only the happy path.
- Separate experimental APIs behind clear adapters so updates are easier to repair.
Test Hytale Mods Without Breaking a Main World
Testing should cover installation, first load, normal use, restart, update, removal, and failure recovery. Make a disposable world or server snapshot for development. Back up saves before any migration test, and confirm that removing the mod does not leave the server unable to start.
When a new Hytale update arrives, test the mod with no other mods first. If it works alone, add dependencies and other mods in small groups. This separates a direct compatibility break from a mod conflict. Record the exact game channel and build date because a pre-release and live build may behave differently.
| Test | What to verify | Useful evidence |
|---|---|---|
| Clean install | Files load from the documented location | Startup log and visible asset |
| Invalid config | Mod fails safely with a useful message | Validation error without world damage |
| Restart | State persists only where intended | Before/after state notes |
| Game update | Assets, API calls, and dependencies still match | Tested build and changelog entry |
| Removal | Server or world still opens | Backup restored or cleanup instructions verified |
| Multiplayer | Permissions and server authority are enforced | Two-account or role-based test |
Package and Publish a Hytale Mod Responsibly
A downloadable mod should tell users who made it, what it changes, which Hytale build was tested, what dependencies it needs, where to install it, how to remove it, and which problems are already known. A version number without a changelog is not enough. Use semantic or date-based versions consistently and keep old builds available only when their compatibility is clearly labeled.
Publish through a traceable creator profile or established mod platform when possible. Do not wrap a mod in an unrelated installer, require users to disable antivirus, or advertise premium access that bypasses Hytale accounts. If the package includes third-party code or art, follow its license and credit requirements.
For screenshots, show the real feature and label development builds honestly. Do not use concept art as proof that a mod already works. Invite testers to report the game build, mod version, logs, reproduction steps, and other installed mods; that information turns vague complaints into actionable bug reports.
- README with feature scope, installation, removal, and support link.
- Compatibility line with game channel, tested date, and mod version.
- Changelog that separates fixes, new features, and breaking changes.
- License and credits for code, textures, sounds, models, and libraries.
- Checksums or trusted platform downloads instead of URL shorteners and mirrors.
Version Freshness Check for August 2026
This is a download-adjacent Hytale site, so the official release and creator-tool status was checked before publishing this guide. Hytale is in PC Early Access and uses the official Hytale account and launcher flow. No official Android APK, package name, verified APK file size, or official mobile download link was found, so this page does not present one.
The official Update 6 pre-release item checked on August 18, 2026 is Part 12, published on August 13. A pre-release channel can differ from the normal live build, so mod authors should state the exact channel they tested and recheck official news before calling a package compatible with the latest version. The official pages do not provide one universal mod file size because size depends on each creator's assets and code.
Existing site guidance already routes desktop downloads to Hytale's official launcher and warns against APK mirrors. No verified version number, file size, or direct Android package field required synchronization. This new guide adds the checked date, Early Access status, current update context, official download route, and creator compatibility warning without inventing a build number.
| Field | Verified result | Source/action |
|---|---|---|
| Platform | Official PC Early Access launcher flow | Use Hytale's official download and account pages |
| Latest update context | Update 6 pre-release Part 12, August 13, 2026 | Recheck official news before release |
| Android APK | No official APK verified | Do not provide an APK mirror or invented package name |
| Universal mod size | Not applicable | Each creator must publish the real package size |
| Compatibility label | Required per mod release | State game channel, tested date, dependencies, and mod version |
Start Small, Use Official Tools, and Ship Reproducible Builds
The fastest path to a useful Hytale mod is not the biggest idea. Build one asset or server behavior, confirm it works in the current official toolchain, keep source files and backups, and write down every compatibility assumption. Once that small loop is reliable, add a second feature.
If your goal is to install mods rather than create them, use the separate Hytale Mods safety guide. Creator intent and download intent need different instructions: one teaches a reproducible build workflow, while the other helps players evaluate sources, dependencies, and risky files.
Hytale Mod Creation FAQ
Related Hytale guides
Official creator references
- Hytale's Modding Strategy and Status
- Modding in Hytale: An Overview
- Official Hytale download page
- Official Hytale news
Media check completed July 16, 2026. All five visuals on this page are official Hytale images downloaded from the Hytale CDN and compressed to WebP. They are presented as official creator-tool reference screenshots, not as images produced by this site.